Summary
– Step 1: Test the floor for moisture
– Step 2: Identify defects in the cement floor
– Step 3: Remove rough spots in the floor
– Step 4: Fill in cracks and voids
– Step 5: Check and, if necessary, correct the porosity of the cement floor
– Step 6: Clean the floor
– Step 7: Apply a primer to the cement floor
– Step 8: Install your tile on the prepared cement floor
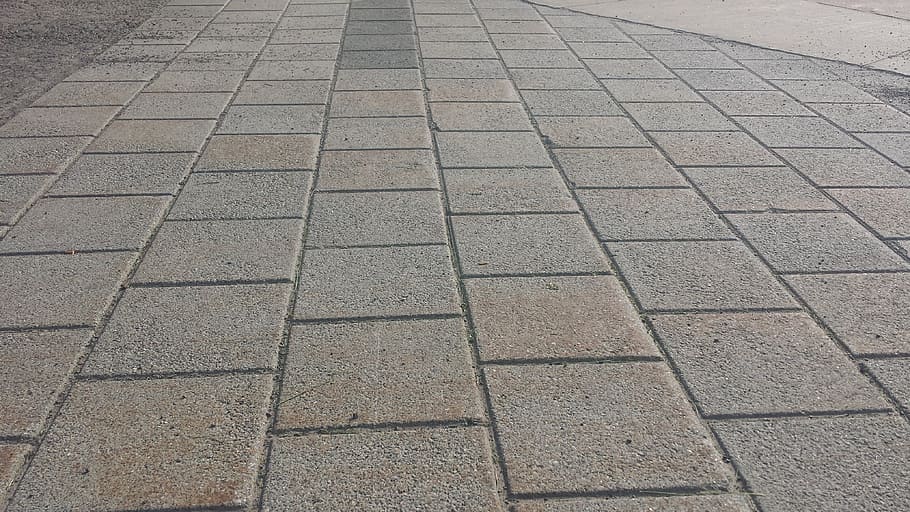
Once installed, the cement floor must be flat, clean, and solid for the tile to be resistant, aesthetic, and durable.
Therefore, before tiling a cement floor, it is crucial to identify and correct any defects and then clean thoroughly.
Here are the steps to follow to prepare a cement floor for tiling.
1. Test the floor for moisture
It is not possible to tile a wet floor because it will rot.
Check if the floor is damp by performing a test: with the help of adhesive tape, fix a sheet of aluminum foil or cellophane on the floor and leave it for 2 to 3 days before removing it. If the foil is covered with condensation, the floor is damp, and you should treat it accordingly.
2. Identify defects in the cement floor
A cement floor may have some defects in evenness and flatness that need to be identified and corrected to be covered with tile.
Locate pits, holes, and cracks in the floor
– Put your eye to the ground to see the importance of the irregularities.
– Place a 2m metal ruler at different points on the floor and check that the floor’s gap and the ruler do not exceed 7mm.
What to do in case of significant unevenness?
– If the difference in the floor level is less than 7mm and the surface has some localized irregularities, these are minor flatness defects. Follow the instructions in this sheet to treat the asperities and hollows of the cement floor.
– If the unevenness of the floor is greater than 7mm and the surface has holes and cracks in many places, proceed with a floor leveling, which consists of applying a leveling mortar to the entire surface to smooth it out.
3. Remove unevenness from the floor
If your floor doesn’t need to be patched, start by removing the rough spots on the floor.
A cement floor can have many rough spots. These can be traces of glue or mortar that remain after removing an old floor covering.
– Scrape out the bumps, glue, or mortar marks with a spatula or flat chisel. Then sand the floor smooth with a sanding stone or sandpaper.
– For traces of plaster or cement, boil vinegar and pour it on the traces, leave it for about 15 minutes, then scrub with a brush.
4. Fill cracks and hollow
Fill small cracks and holes with filler or quick cement.
– Start by widening the cracks and holes with a spatula to ensure better adhesion of the filler.
– Then, clean the holes and cracks with a brush to remove dust. Dampen them slightly; this will ensure the plaster adheres.
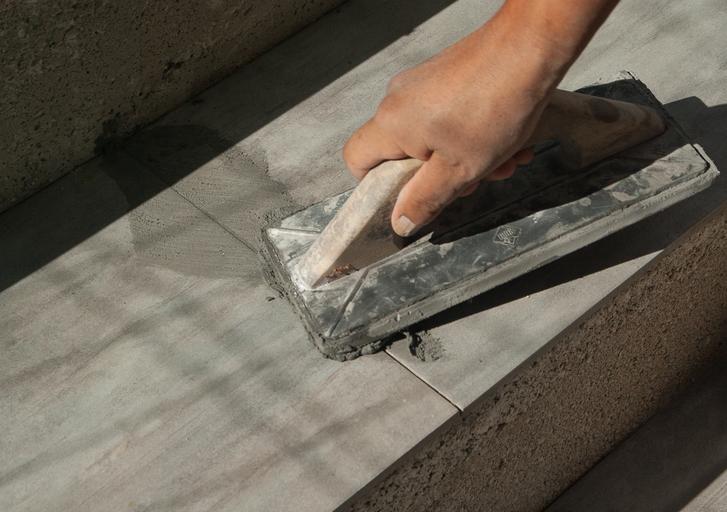
– Use a spatula to fill the holes with plaster and a trowel to smooth it out.
– Let dry completely.
– Sand with a sanding stone or sandpaper so that the surface is perfectly smooth.
5. Check and, if necessary, correct the porosity of the cement floor
When a cement floor is porous, it does not allow the mortar glue (tile adhesive) to adhere correctly.
Determine if your floor is porous:
– Pour a little water on the floor and wait a few moments.
– If drops of water form on the surface, then the floor is not porous. You can cover it directly with the primer:
– If water penetrates the floor, then the floor is porous.
How to correct the porosity of the floor?
– Prepare a “grout” of adhesive mortar: mix water and mortar in equal amounts.
– Coat the floor with this grout using a brush, in the same way as paint.
– Allow drying.
6. Clean the floor
It is essential to clean the floor thoroughly, as traces of grease and dust reduce the adhesion of primer or tile adhesive products.
– Remove dust by vacuuming or sweeping.
– Clean the floor with a mop and household cleaners to remove stains and grease.
7. Apply a primer to the cement floor
The primer is a product that ensures the adhesion of floor coverings on a surface.
It is applied in the same way as a paint undercoat, using a brush or roller:
– Protect baseboards with masking tape.
– Coat the floor with primer using a short nap roller. Spread it in parallel strips and then “cross” the roller to cover the entire surface.
– Start with the side opposite the door and finish with the door.
– Allow the primer to dry for the time indicated on the package. Generally, the primer is colored when applied and turns white as it dries.
8. Lay your tile on the cement floor you have prepared
For each of the following significant steps, use a practical sheet to detail how you’ll do it:
– Do the layout (calculating the number of tiles) and floor markings to prepare for tile installation.
– Lay your tiles with adhesive mortar.
– Grout your tiles.
Materials for tiling a cement floor
Filler Approximately $7 per 5 kg
Primer Starting at $21 per liter
Sanding stone About $2
Flat chisel Starting at $5
Trowel Starting at $4
Spatula Starting at $1
Roller Starting at $5
Aluminum ruler 2 m About $15