4 Steps to Build a Wall
Contents
– Building a wall: before you start
– Where to start building a wall?
– Building a wall: laying the first courses
– Finishing the construction of a wall
Building a cinder block wall: the steps
Some construction work requires a specific technique:
– building a wall,
– build a wall, put up a partition,
– drilling a wall,
– demolishing a wall.
1. Building a wall: before you start
Always remember to work safely. The basic technique is the same whether you build an exterior or interior wall, a partition, or a brick wall.
Choosing your material and tools
In all cases, you need:
– the building material: brick, plasterboard or tiles, cellular or reinforced concrete, etc.,
– a well-prepared binder to assemble and hold the elements together.
Basic rules for building a wall
A well-built wall will last for years, and this depends on whether the rules of the art were observed. For example, the foundations must be frost-free and dry; the first 2 rows of the wall are underground when finished. Put only 7 rows at a time: allow a few hours drying time before continuing,
– the joints are staggered on the vertical of the wall.
2. Where to start building a wall?
In the beginning, you must determine the location of your future wall:
– use wooden stakes and a strong string for this,
– As far as possible, lay the stakes in a line.
Then dig the foundations and then pour them.
Building a wall: digging the foundation
The foundation of the future wall should be wider than the dimensions of the finished wall:
– count about double,
– for example: for a 20 cm wall, the foundation is 40 cm wide.
The ground freezes to a depth of about 15 cm, your foundation must be frost-free:
– dig the trench to 50 cm,
– level the bottom.
Observe a frost-free depth
The depth at which the foundations must be located depends on the region and the altitude. By region, follow the depth at which you can reach a frost-free level for an altitude of 0 to 150 m. For every additional 200 m, add 5 cm.
Good to know: You can contact the regional geological services to find out the frost-free conditions for your region.
Pouring the wall foundations
At the bottom of the trench, a hunk of clean concrete is laid.
Then, the reinforcement for the foundation is placed and held in place with wedges.
Once the reinforcement is in place, the foundation must be poured.
The foundation must be perfectly smooth and flat.
3. Building a wall: laying the first courses
After pouring the foundation, here is how to lay the rows of cinder blocks.
Laying the cinder block
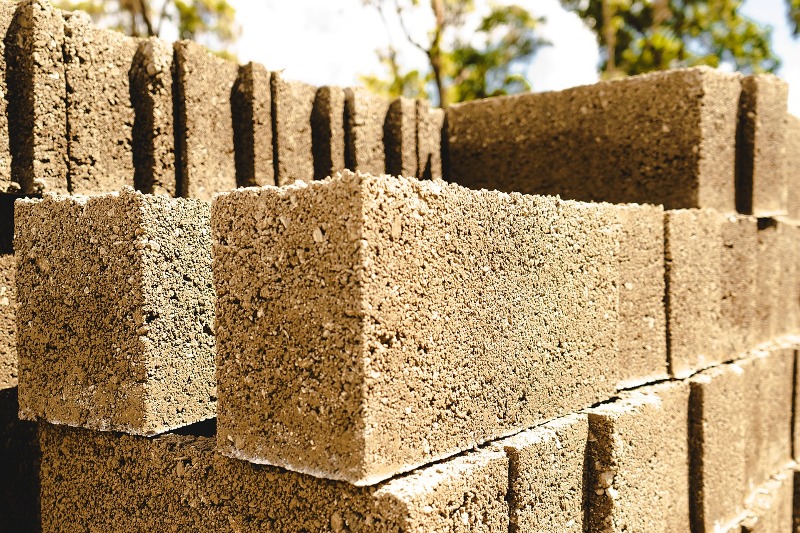
The breeze blocks (UK) or cinder blocks (US) have cells that must always be placed downwards to allow the mortar to adhere correctly:
– Place pins on both sides of the wall to serve as a vertical guide for installation,
– regularly lay a layer of mortar of about 4 cm on the foundations and lay the first block at one end, checking its alignment in all directions,
– shear the top of the mortar with a trowel to reinforce its adherence,
– place another block at the other end in the same way,
– Stretch a wire between the two blocks to serve as an assembly reference (hence the importance of their installation),
– fill in between the two blocks, leaving a joint of about 3 to 4 cm and following the alignment identified by the wire,
– When the row is finished, fill the joints with mortar using a trowel,
– cut a block in half and start laying the second row with the ends and one half of the block.
Cutting the clays
It would help if you cut the boards for:
– staggered joint matching,
– fill any “holes” in the rows.
The cinder blocks must be cut in the middle of a cell when possible:
– trace the cut position on all sides of the cinder blocks with the point of your nail hammer,
– hit the mark with a sharp blow on one side of the clapboard; it will break cleanly.
4. Finishes for the construction of a wall
A wall covering must be installed to protect it from humidity and rain on the exterior walls.
Your wall can now receive the finish of your choice:
– plaster,
– facing brick,
– stone facing.
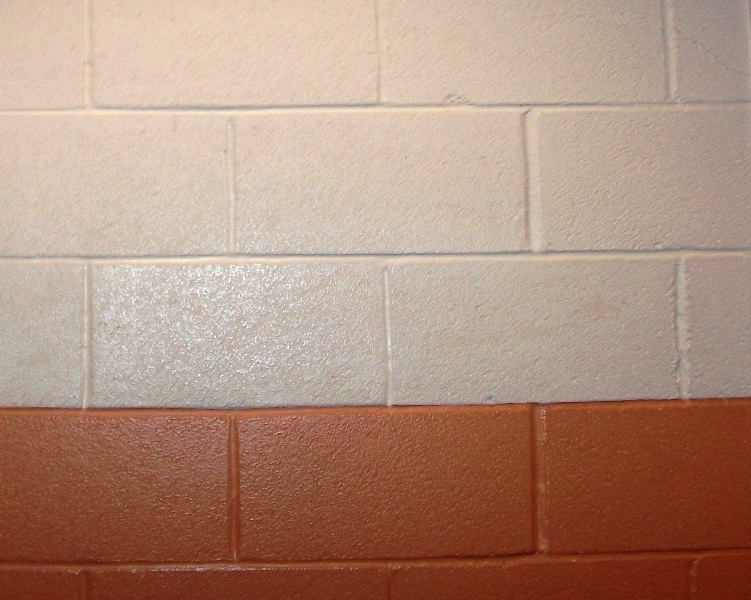
Paint should be avoided for aesthetic reasons but also maintenance.
The Different Techniques To Reinforce The Solidity Of A Construction | Building construction blog
15 June 2022[…] Sound off in the comments section below and tell us what you want to read next and if you want to read more about construction sites. […]
Comparison of Timber for a Wooden House | Building Pros
14 July 2022[…] – 4 Steps to Build a Wall […]
Demolition Work: Precautions And Advice | Building construction blog
5 October 2022[…] Sound off in the comments section below, and tell us what you want to read next and if you want to read more about demolition. […]
Wood, The Material Of Choice For Modern Construction | Building construction blog
19 December 2022[…] dive into this blog and learn some of the things you need to know about the use of wood in the construction […]